


How to Make Twisted Taper Candles
Hello, my dearest craft enthusiasts!
Today, I'm thrilled to share with you my latest obsession --- twisted taper candles! These stunning creations are not only beautiful and unique, but they're also incredibly fun to make. I can't wait to guide you through the step-by-step process of crafting your twisted taper candles at home. So, let's get started!
To begin, you'll need to get your hands on our one-of-a-kind twisted candle mold. This exquisite mold is designed to create the perfect twisted shape and is super easy to use. You can purchase it on our website and start creating beautiful candles in no time! 😉
Once you have your mold, it's time to start making your candles. Here's what you'll need:

- Wax (we highly recommend soy wax for a natural and eco-friendly option)
- Candle wicks
- Coloring pigments (if you want to add some color to your candles)
- Twisted candle mold
- Double boiler or a pot and a heatproof bowl
- Thermometer
- Stirring utensil (a spoon or a spatula works great)
- Scissors


Step 1: Take a sharp object and pass the candle wick through the center of the mold. Then, using a pair of scissors, cut the wick to the desired length (slightly longer than the height of the mold).

Step 2: Heat the mold using a hairdryer. As the wax can easily cool and solidify, heating the mold will slow down the solidification of the wax. Here's our tip for you, my dear friends.😉

Step 3: Place the mold in a plastic shell and secure it with a rubber band. This will ensure that the mold is not deformed when the wax is being filled.
Step 4: Melt the wax
In a double boiler or a heatproof bowl placed on top of a pot with simmering water, melt your wax. Use a thermometer to check the temperature and make sure it's around 180-190°F (82-88°C).
(Tips: the candles we made this time required about 60 g of wax for one.)
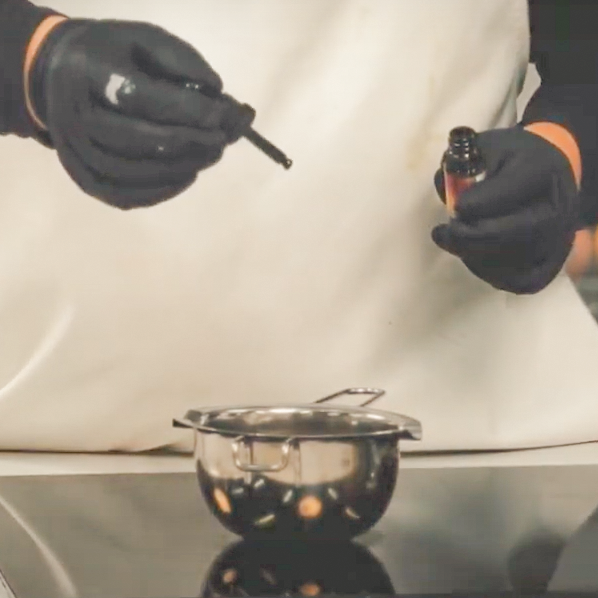
Step 5: Add coloring pigments
If you want to add some colors to your candles, now is the time to do it. Add them now and stir until fully melted.


Step 6: Pour the wax and place a fixing clip
Slowly pour the melted wax into the twisted candle mold. Pour the melted wax into the mold until it's full. Then place a fixing clip to fix the candle wick in the center. After that let the wax cool and solidify for a few hours until it's completely hardened.

Step 7: Remove the candle
Gently remove the candle from the mold. Trim the wick to about 1/4 inch and your twisted candle is ready to use! 🥰


I hope you enjoyed this tutorial and are eager to create your twisted candles. 😊 Don't forget to share your creations with us on social media and @ us! 😎
And of course, if you don't have our twisted candle mold yet, head over to our website and get yours today. Trust me, my lovely friends, it's worth it! 😆
Happy crafting! 💖

Comments
Анастасия said:
Добрый день! Я хочу купить у вас много форм для изготовления свечей, но так же хочу узнать какие красители для воска вы используете и как я могу купить эти красители. Ваши молды и свечи великолепны!!!
Lisa H. said:
Hello, I have bought your twisted candle molds 4 different shapes, but I also would love to know what you dipped them in to get them so shiny please.
Thank you in advance,
Lisa
Alyssa F said:
Hi there- I would also like to know how to get the extra shine on the tapers like the pictures
Jennie Mills said:
Hi, I watched a video on your site where you dipped the twisted candles in a shiny coloured wax. Where can I buy the shiny coloured wax, and the container you dipped the candles in please. They look great!
When I asked months ago you mentioned new stock was coming soon – can you please identify exactly what I should be looking for to get a shiny candle.
Thanks, Jennie
Jennie Mills said:
Hi, I watched a video on your site where you dipped the twisted candles in a shiny coloured wax. Where can I buy the shiny coloured wax, and the container you dipped the candles in please. They look great!