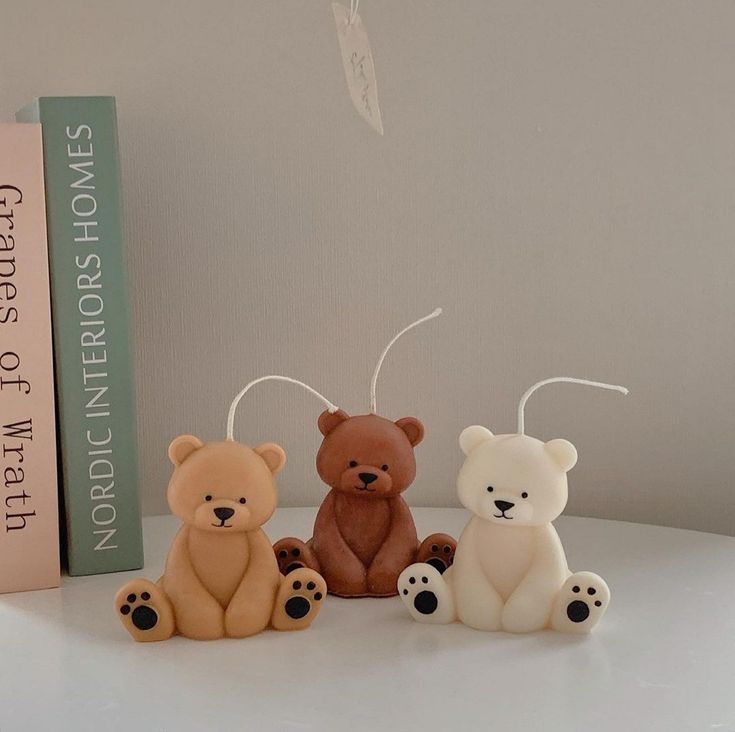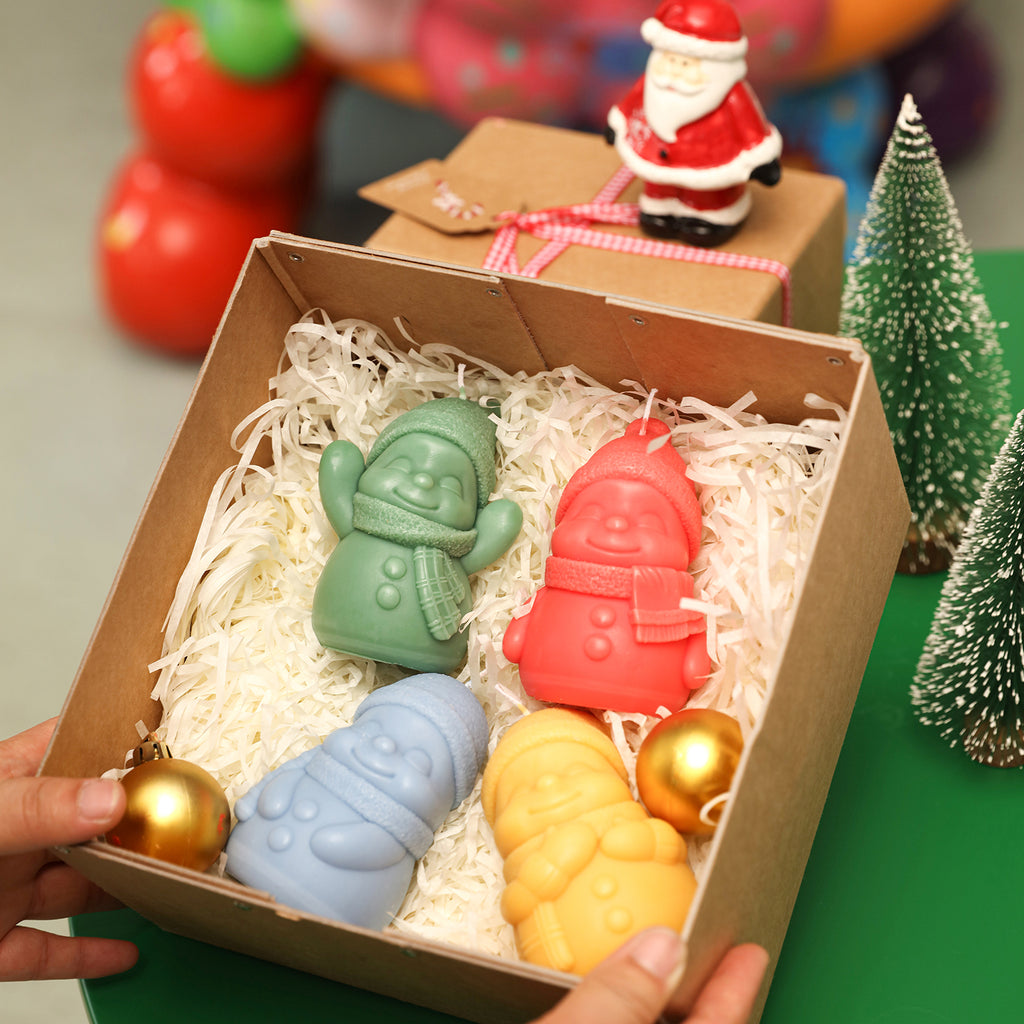
In the realm of personalization, candles have transcended their humble origins as mere providers of light and warmth. They have become instruments of individual expression and emotion, indispensable elements in home decor and personal spaces. With the advancement of custom silicone mold technology, anyone can now create unique candle artistry within the comfort of their home. These molds are not only a gateway to endless creative possibilities but are also favored for their ease of use and high-quality standards.

Material Selection
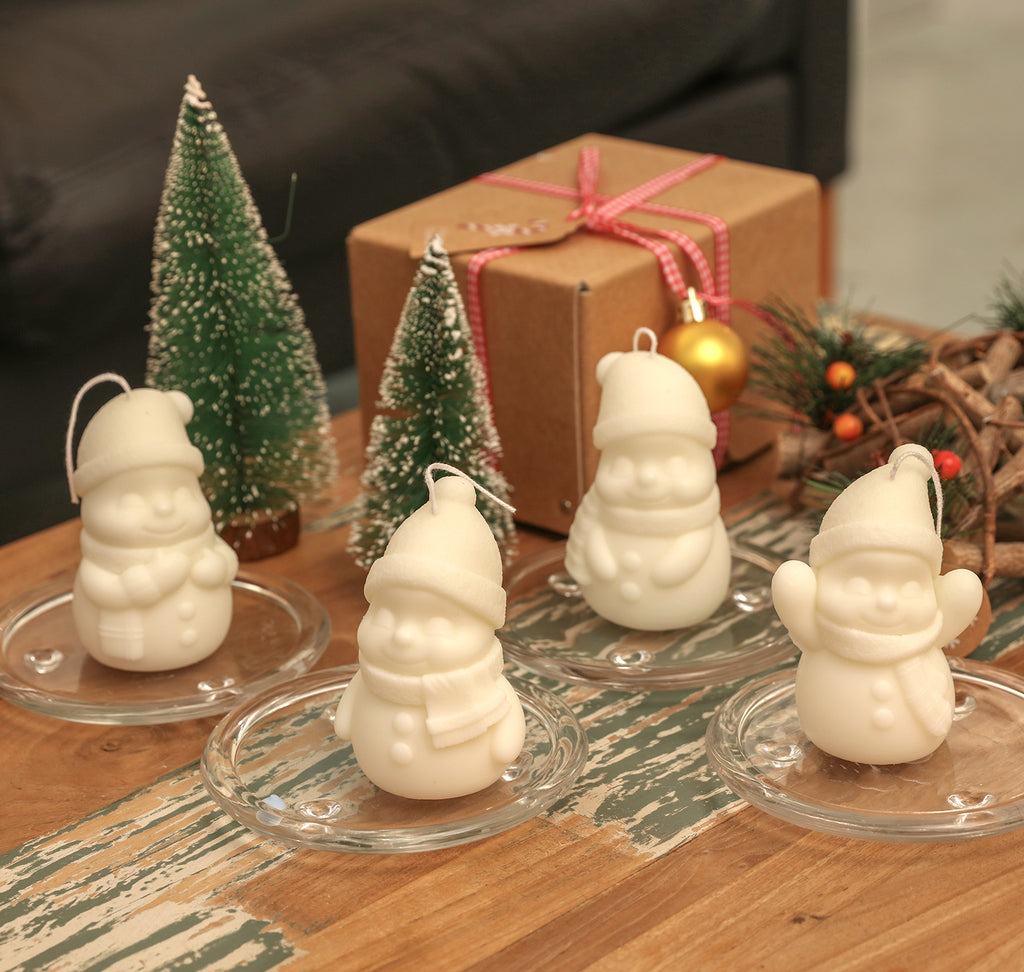
Candle Wax
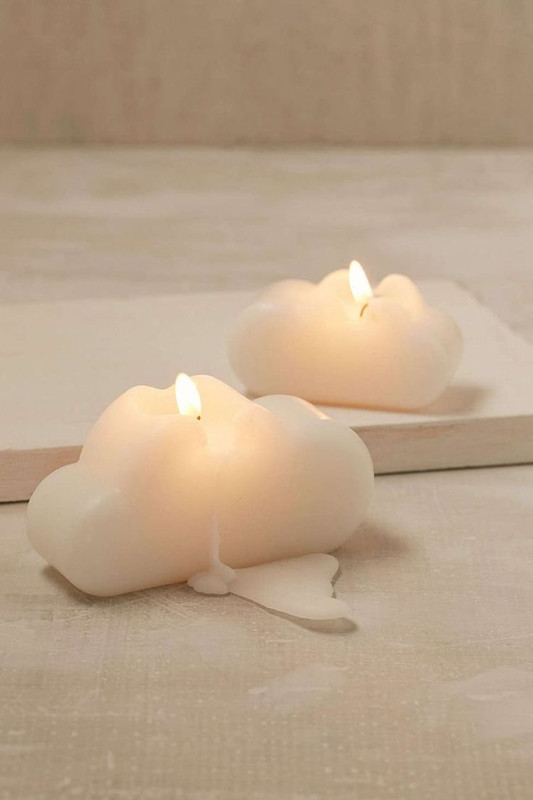
Soy Wax As a renewable resource, soy wax is lauded by environmentalists for its clean burn and lower soot emissions. Its soft texture and lower melting point make it an ideal choice for container candles. Moreover, the high translucency of soy wax beautifully showcases added colors and embellishments.
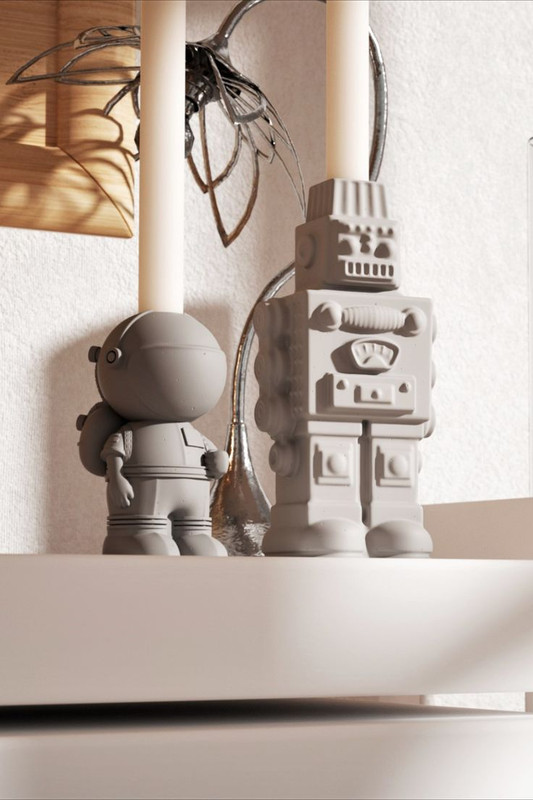
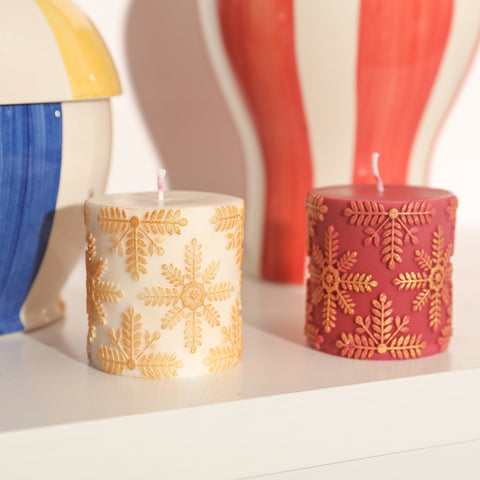
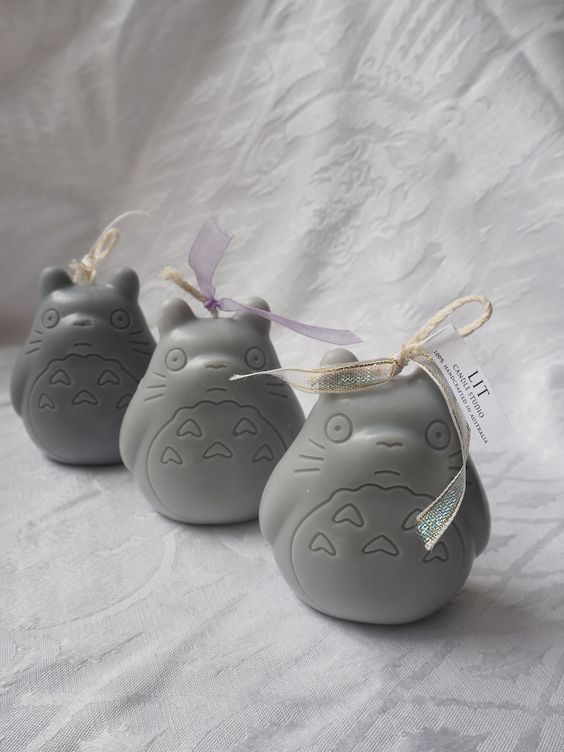
Beeswax Beeswax, a traditional material in candle making, is renowned for its natural golden hue and subtle honey scent. It releases negative ions during burning, which helps purify the air. The higher hardness of beeswax makes it suitable for creating sculptural shapes, such as sculpted candles or pillars.
Through a deep understanding and careful selection of candle wax, we can ensure that each candle is a perfect reflection of personal taste and a commitment to environmental responsibility.
Silicone Molds
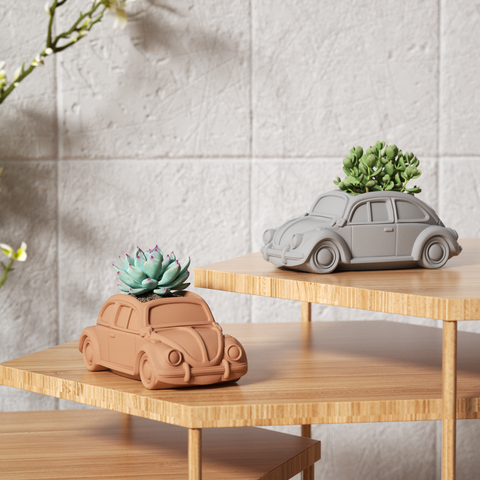
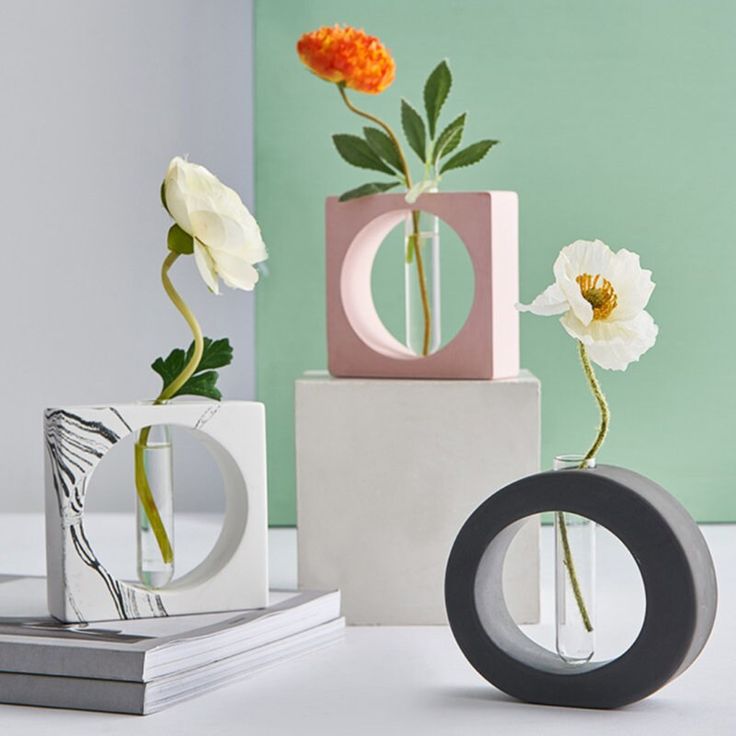
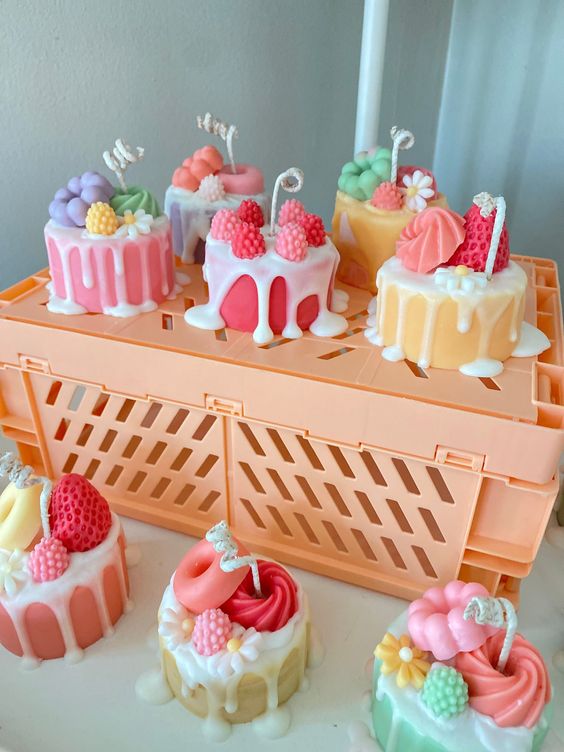
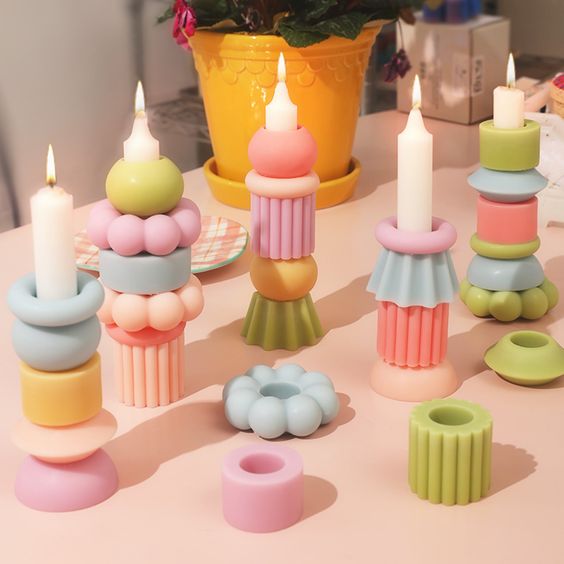
Size and Shape The size and shape of candle molds should align with the candle’s intended use and design vision. Whether crafting a delicate tealight or a majestic pillar, the mold’s dimensions and form should support the candle’s structure and desired aesthetic effect.
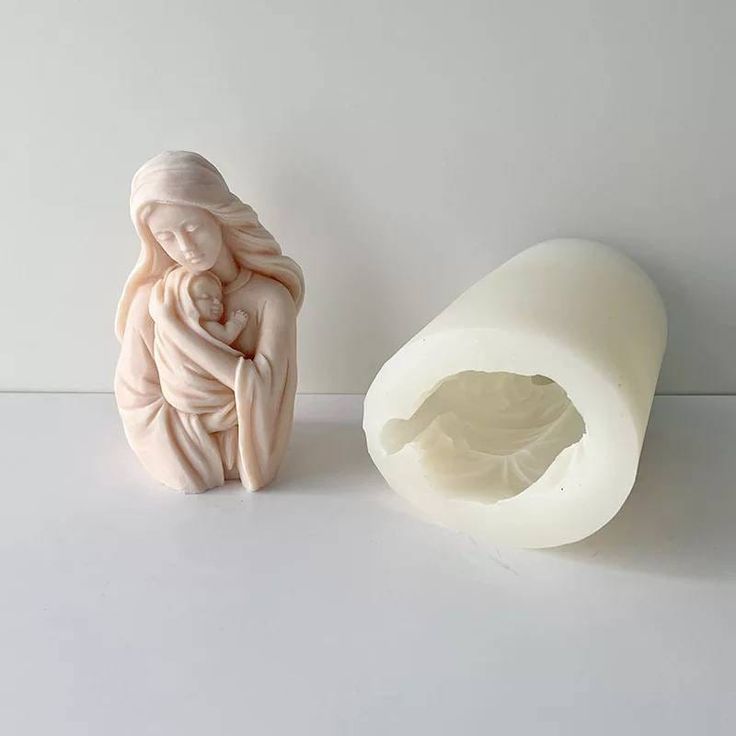
Quality Standards High-quality silicone molds are foundational for producing premium candles. They should withstand repeated heating and cooling without warping or cracking. The interior of the molds must be flawlessly smooth to ensure a perfect finish on the candle’s surface. Additionally, the silicone material should be non-toxic, not releasing harmful substances during the candle’s burn.
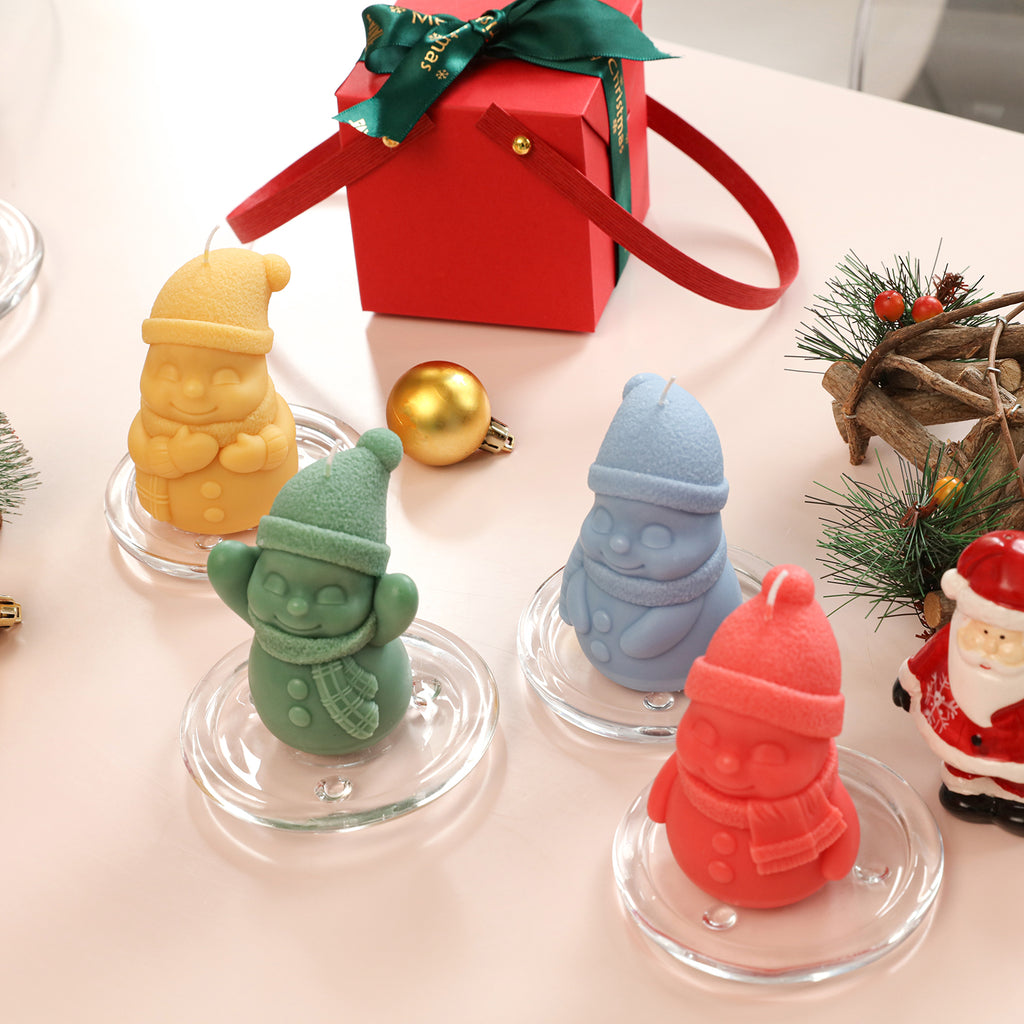
Dyes
Liquid Dyes Favored for their ease of blending and uniform distribution, liquid dyes are often water or oil-based, providing vibrant and consistent color effects. However, their concentration must be monitored, as excess can impact the candle’s burning performance.
Powdered Dyes Known for their concentrated color and long-term stability, powdered dyes achieve deeper color layers in melted wax, suitable for creating visually striking candles. However, they require careful stirring to prevent particle sedimentation.
Natural Pigments Vegetable and fruit juice extracts are ideal for creators seeking eco-friendly and natural styles. They are sustainably sourced and provide soft, natural hues. However, the color range of natural pigments is relatively limited and may change over time.
When selecting dyes, safety is the primary consideration. Ensure that the chosen dyes meet safety standards and are free from harmful chemicals. In the United States, the use of candle dyes is strictly regulated by federal laws. Creators should follow these regulations, choose certified dyes, and clearly label ingredients to ensure consumer awareness and safety.
Essential Oils
Fragrance Pairing When selecting essential oils, consider the harmony and contrast between scents. For instance, the freshness of citrus can be paired with the mildness of lavender to create a balanced and pleasant aroma. Alternatively, bolder combinations, such as oriental spices with woody notes, can craft a unique ambiance.
Concentration Recommendations The concentration of essential oils directly affects the candle’s fragrance intensity. Typically, about 6 to 10 drops of essential oil are recommended per pound of candle wax. However, this ratio can be adjusted based on personal preference and the strength of the chosen oils. Note that too high a concentration may not only overwhelm other scents but also affect the candle’s burning quality.
Quality Standards High-quality essential oils should have clear sourcing and ingredient labeling. Opt for brands that provide complete transparency in their production and extraction processes to ensure the purity and safety of the oils.
Testing and Experimentation Conducting small-scale tests before final decisions is crucial. This not only helps determine the final scent outcome but also ensures the stability of the essential oils in the wax.
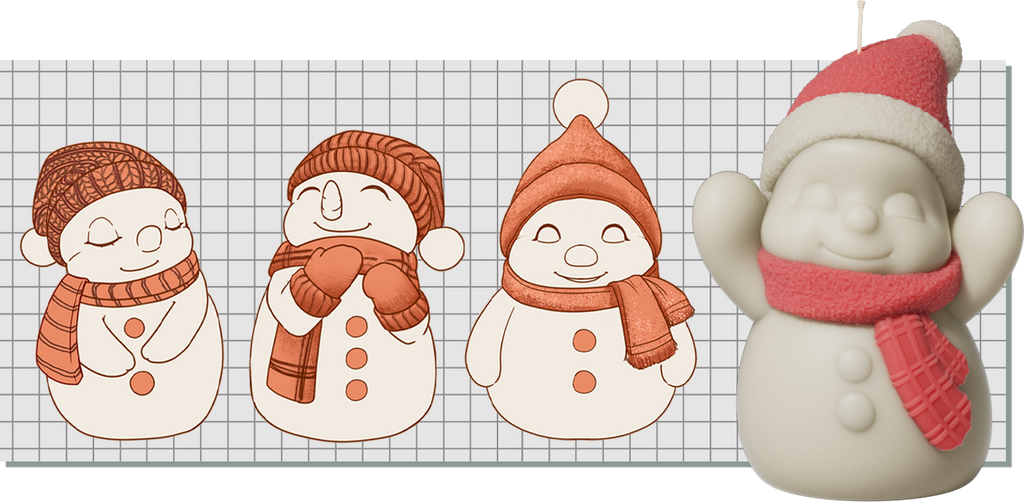
Design and Creativity
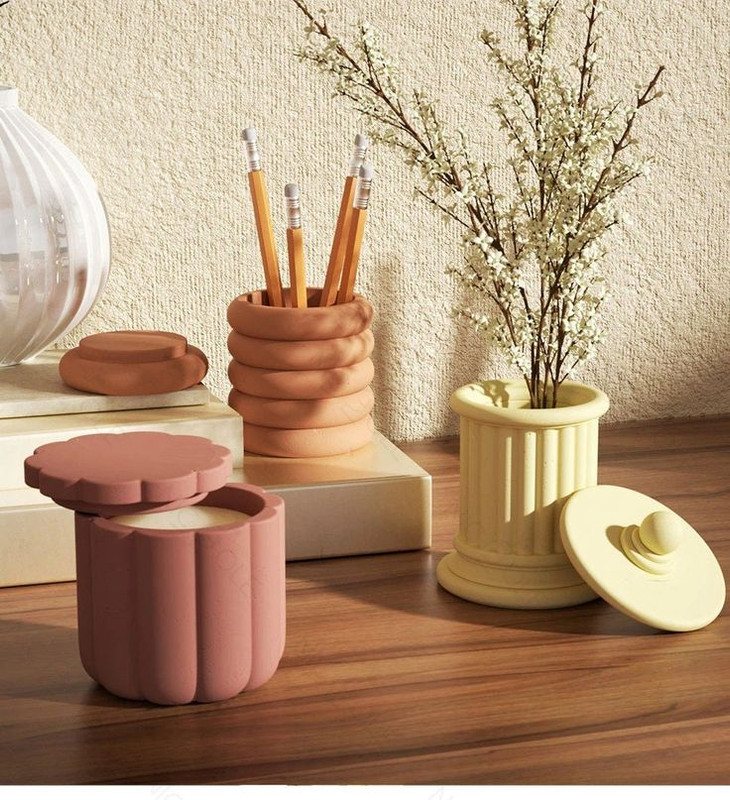
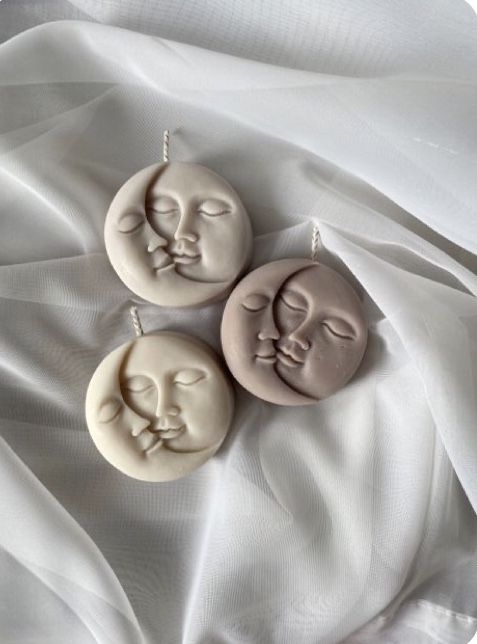
Nature’s Revelation Nature is an inexhaustible wellspring of design inspiration. From the changing seasons to the textures of plants, every detail in the natural world can spark creativity. For example, the warm color combinations inspired by autumn leaves or the rippling patterns of the ocean can translate into mold texture designs.
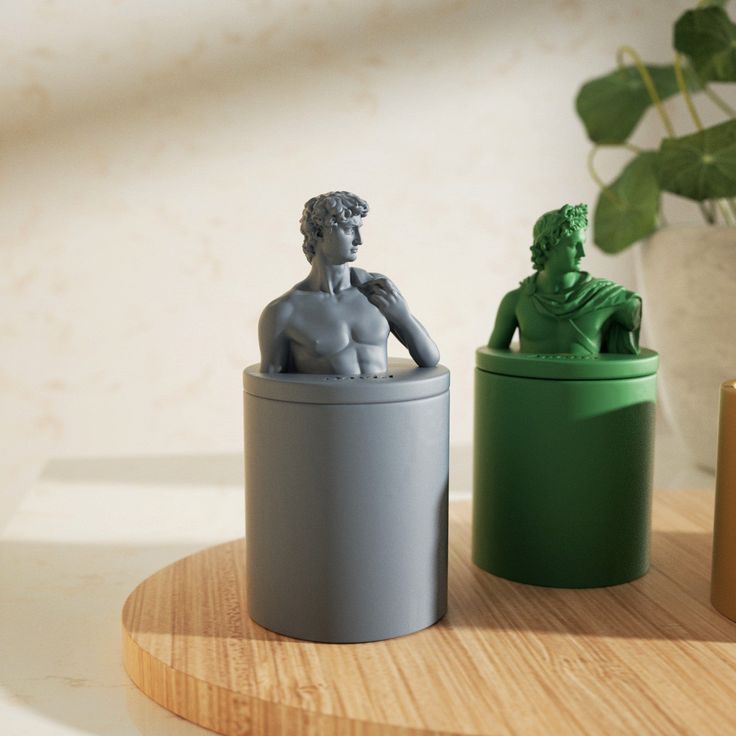
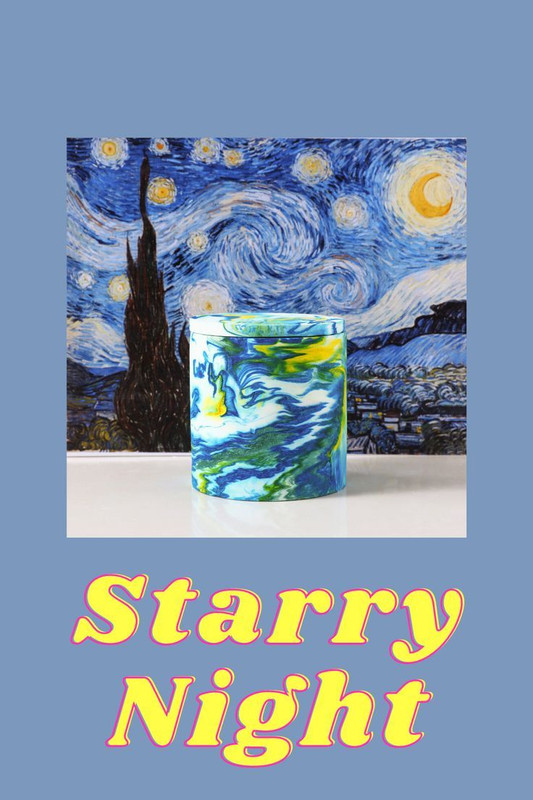
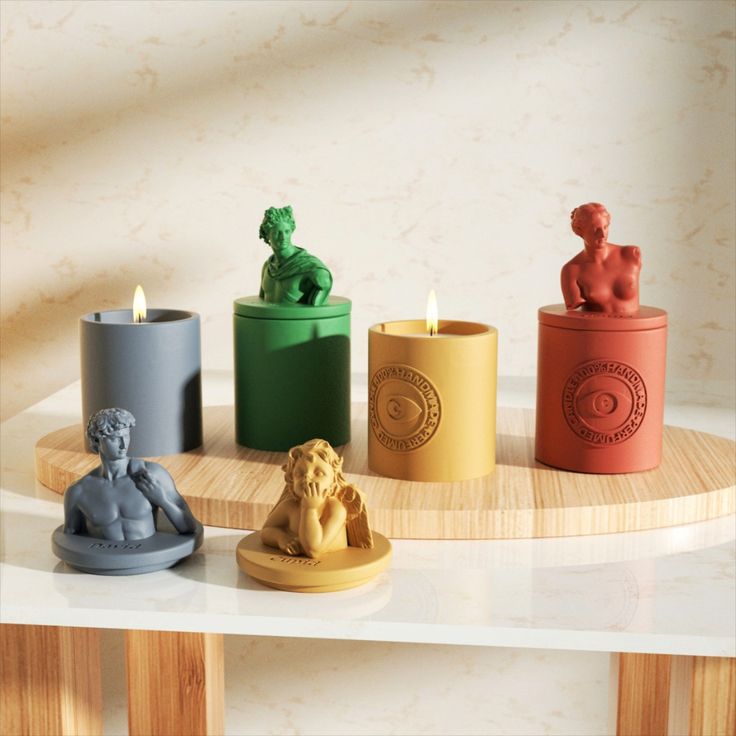
Artistic Reference Artworks, whether classical or modern, contain rich visual and emotional expressions. Candlemakers can draw inspiration from the color combinations of a painting or find mold design cues in the form of a sculpture.
Observations from Daily Life The minutiae of everyday life can ignite the spark of design. The lines of a piece of furniture, the architectural style encountered on a trip, or even the meal's presentation can all become sources of inspiration for personalized candle designs.
Cultural Fusion In the blending of diverse cultures, design inspiration can also cross boundaries. Incorporating symbols and patterns from different cultures into candle designs not only creates unique products but also honors and celebrates multiculturalism.

Custom Mold Fabrication
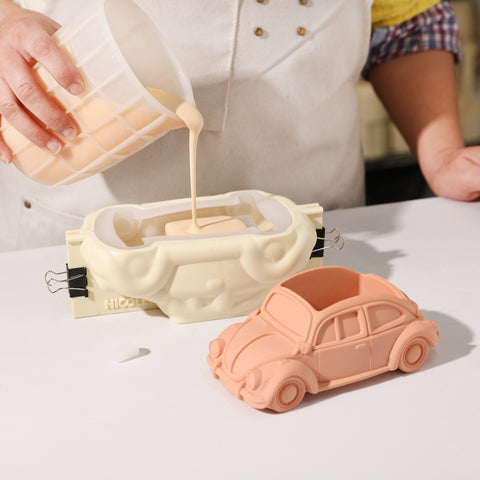
In the creation of personalized candles, custom mold fabrication is a key step in turning creativity into reality. Here are some critical considerations for custom mold fabrication:
Design Communication Communication with manufacturers should be thorough and precise. Provide clear design drawings and specifications to ensure the manufacturer accurately understands the design intent. Also, assess the manufacturer’s technical capabilities and experience to select a partner that meets design requirements.
Material Selection The material for silicone molds should possess good temperature resistance and flexibility for easy demolding and long-term use. Additionally, the mold material should meet environmental standards to ensure product sustainability.
Detailing In mold fabrication, details are paramount. From the smoothness of the mold’s inner walls to the seal at the joints, every detail affects the final product’s quality.
Innovative Thinking Innovative thinking is the driving force in custom mold fabrication. Continuously explore new materials and technologies, challenging traditional design boundaries to create truly unique and personalized candle products.
Personalized Elements
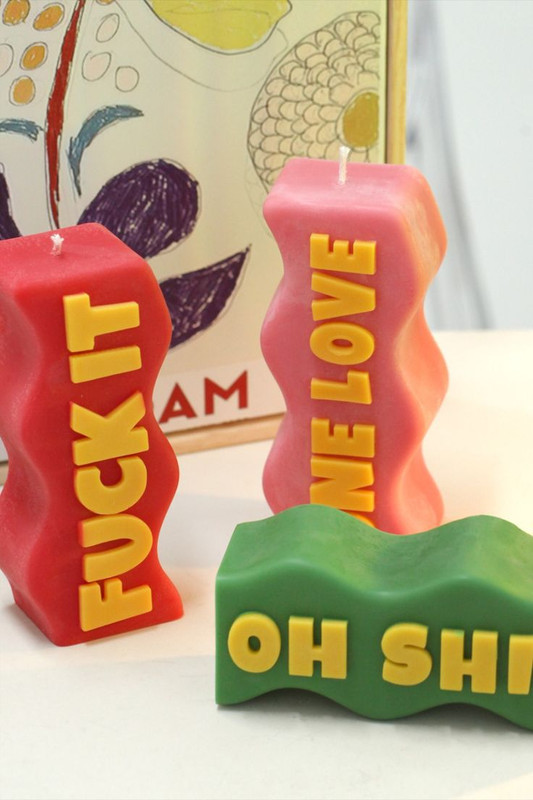
The Power of Words Words can convey information and evoke emotions. Selecting phrases that resonate with the candle’s theme, such as encouraging words or heartfelt poetry, can enhance the emotional value of the candle.
The Charm of Patterns Patterns are a part of visual art that can make candle designs more vivid. From geometric shapes to natural florals, the choice of patterns should reflect the creator’s personality and style.
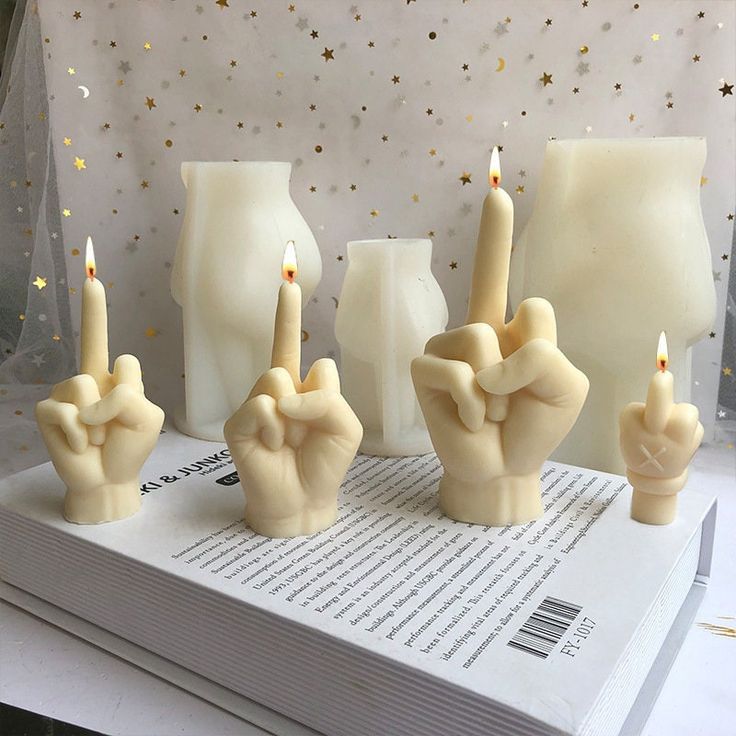
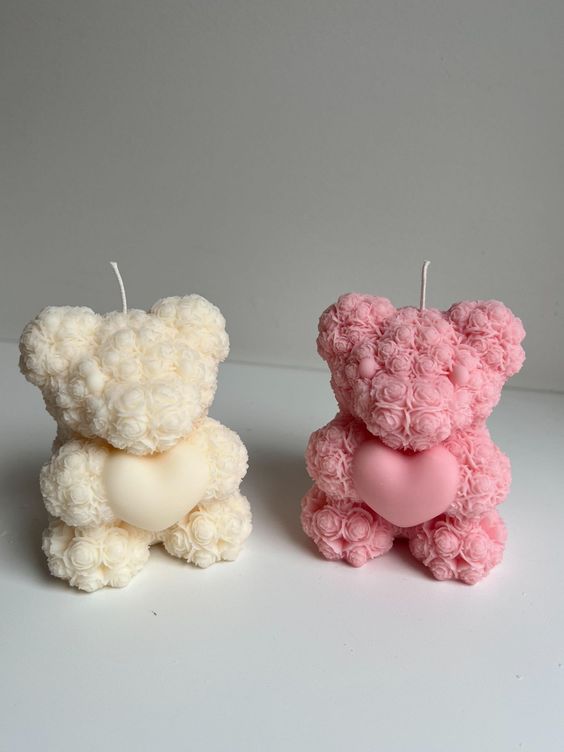
Special Symbols Special symbols, like hearts or infinity signs, can add meaning to candles. These symbols are often associated with specific emotions or concepts, making the candle a medium for conveying deeper messages.
Conclusion
Personalized candles are more than just decorative items; they are a means of self-expression, memory recording, and emotion conveying. Each candle carries the thoughts and stories of its creator, whether it’s the warmth of soy wax or the purity of beeswax, each material speaks its unique language and breath. With custom silicone molds, we can transform our most private imaginings into a tangible form, finding a place for both simple patterns and complex text on the canvas of wax.
]]>


 Set the Foundation: Begin by placing the Shape Keeper for Mold 2 into the Cover Mold. This ensures the cover maintains its form during the casting process. ✔️

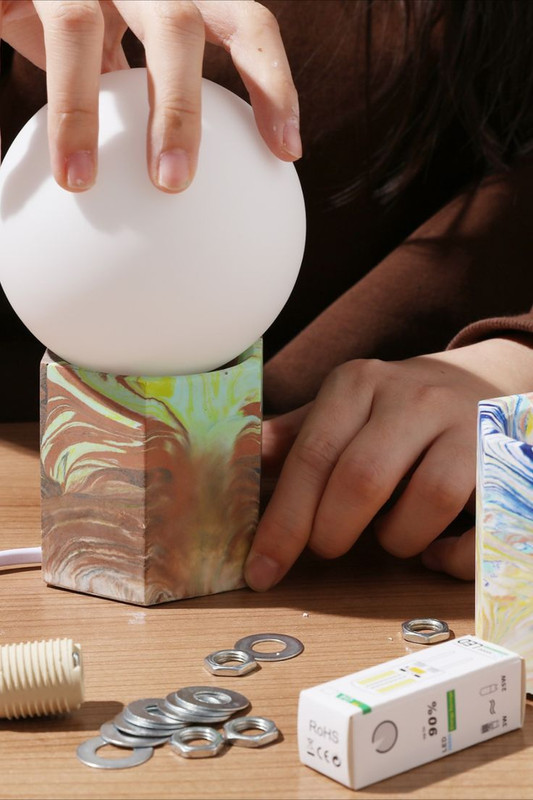
 Position the Final Shape Keeper: Attach Shape Keeper for Mold 1 to help maintain the integrity of the main part of the lamp. 🛡️
 Check Alignment: Inside the mold, locate two small protrusions. Adjust these gently to ensure they are correctly positioned to form the features of the lamp accurately. 🎯


 Position the Battery Component: Similarly, insert the battery component through its respective hole and seal it. 🔋
 Connect the Electricals: Ensure all electrical connections are securely made and that the components are properly aligned and fixed. 🧲


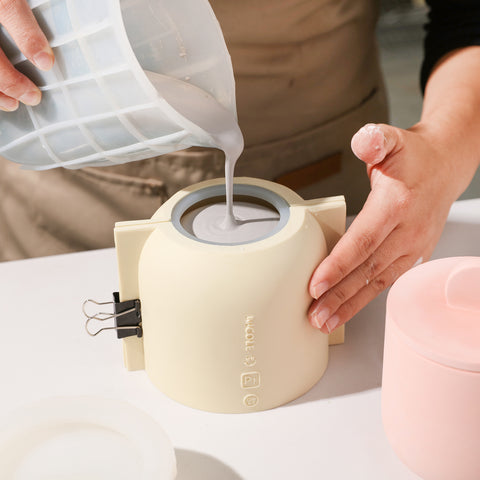
 Carefully pour the melted wax into the jar or container, ensuring you do not disturb the wick. The holder bar will keep the wick in place as the wax fills the container.