


🖋️🏰 Crafting Elegance: A Step-by-Step Guide to Making a Stunning Staircase-Shaped Pen Holder 🏰🖋️
Hey there, fabulous fans and followers! 🌟 Today, we've got something super exciting to share with you all – our one-of-a-kind staircase-shaped pen holder mold! 🖋️✨ If you're looking to unleash your creativity and organize your workspace in style, this mold is just what you need! 🎨💻
We've been flooded with questions about how to use this awesome pen holder mold, so we thought, why not put together a fantastic step-by-step tutorial to guide you through the crafting process? Let's get this creative party started! 🎉🖌️
Step 1: Gather Your Supplies 🛠️
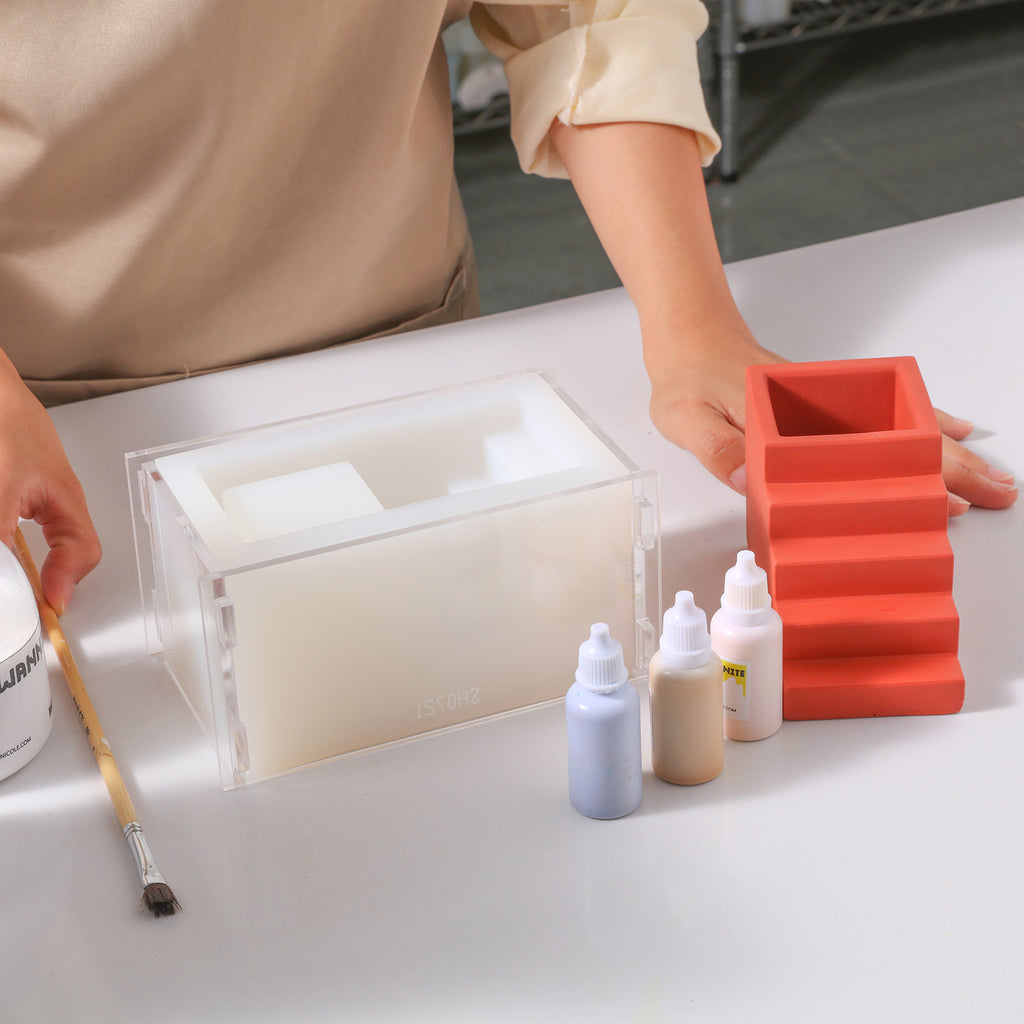
Before we begin, make sure you have everything you need to create your masterpiece! Here's what you'll need:

Our fantastic staircase-shaped pen holder mold (with shells for support, of course!)

Our Boowannite powder and liquid ( you also could choose other materials, such as Jesmonite, concrete, and so on)

Pigments (if you want to add a pop of color)

Mixing container

stir sticks
Step 2: Prepare Your Workspace 🧹
Get your creative space in tip-top shape! Clear the clutter, lay down some protective covers, and ensure good ventilation. Safety first, always! 🚀

Step 3: Put the mold with a shell 🍃
Now, let's set the stage for pen holder perfection! Take the staircase-shaped pen holder mold and place the shells around the mold. These shells will work their magic as support, ensuring your pen holder retains its impeccable structure throughout the crafting process. Craft with confidence, knowing that our mold has you covered! 🐚🌟
Step 4: Mix the Boowannite and Pigments 🎨
Now, the fun part! Mix the Boowannite. It takes 579g powder and 202g liquid to make this pen container. Don't forget to add your favorite pigments or dyes for that personalized touch. Embrace your inner artist and experiment with different colors – the possibilities are endless! 🌈
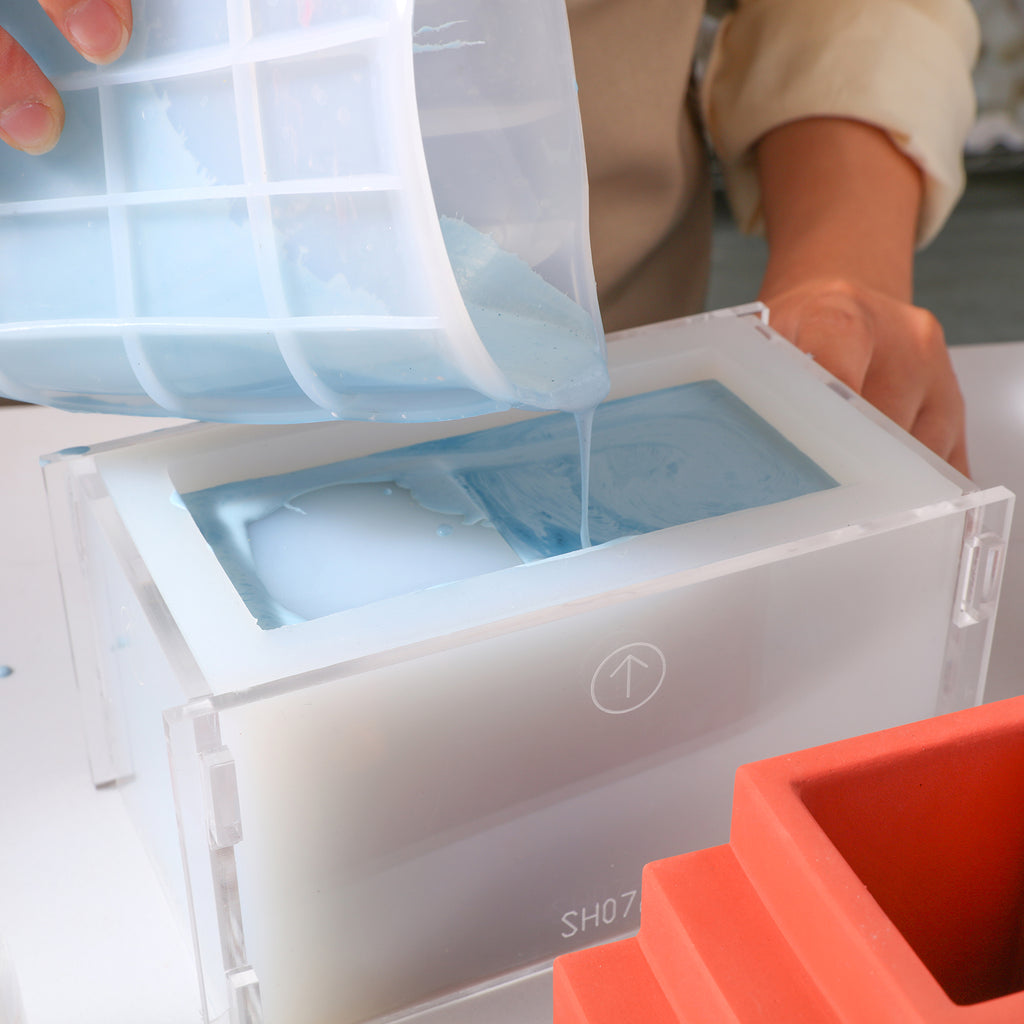
Step 5: Pour, Baby, Pour! 🌊
Carefully pour the mixed Boowannite into each section of the staircase mold. Remember, patience is key here! Take your time and pour with precision. If you accidentally spill some, don't fret! It's all part of the creative process. 😉✨

Step 6: Tap Lightly to Discharge Bubbles 🔘🌈
Before the magic fully sets in, let's say goodbye to any pesky bubbles! Gently tap the mold to release any trapped air bubbles within the resin. This simple step ensures that your pen holder retains its flawlessness, showcasing a smooth and glass-like finish. A pristine creation is just a few taps away! 🖌️💫
Step 7: Wait Patiently ⏳
Now comes the hardest part – waiting! Let the Boowannite work its magic and solidify. While you wait, daydream about the stylish pen holder that'll soon grace your desk. It's going to be epic! 🕰️💭


Step 8: Demold and Admire 🌟
The moment has arrived! Carefully remove the support shells and gently demold your breathtaking pen holder. Take a moment to revel in your artistic prowess and the beauty of your creation! You did it! 🙌🎉

Step 9: Insert Your Pens and Pencils 🖊️📏
Now, it's time to add functionality to your masterpiece! Insert your favorite pens and pencils into the designated slots of the pen holder. Suddenly, your workspace just became the epitome of elegance and organization! 🏢🌟

Step 10: Flaunt Your Creations! 📸💫
Don't be shy – show off your incredible pen holder on social media! Let the world marvel at your craftiness and inspire others to get creative too. Who knows, you might become the next trendsetter in the crafting community! 📸✨
So, there you have it, our amazing fans and followers! Your ultimate guide to using our extraordinary staircase-shaped pen holder mold. Embrace your inner artist and unleash your creativity with this fantastic DIY project. We can't wait to see your masterpieces! 🎉🌈
Until next time, keep crafting and shining bright!
