


Embellishing Floral Delights: Elevating Flower-shaped Tray Creation
Greetings, my lovely followers! 😘Today, I'm excited to dive into the fascinating world of crafting exquisite flower-shaped concrete trays. As an avid DIY enthusiast and a firm believer in the power of creativity, I couldn't resist sharing the production process and some handy tips to help you create your own stunning floral masterpieces. Join me as we embark on this delightful journey of molding magic! 🥳🎀
Step 1: Unveiling the Mold's Charms 🌈
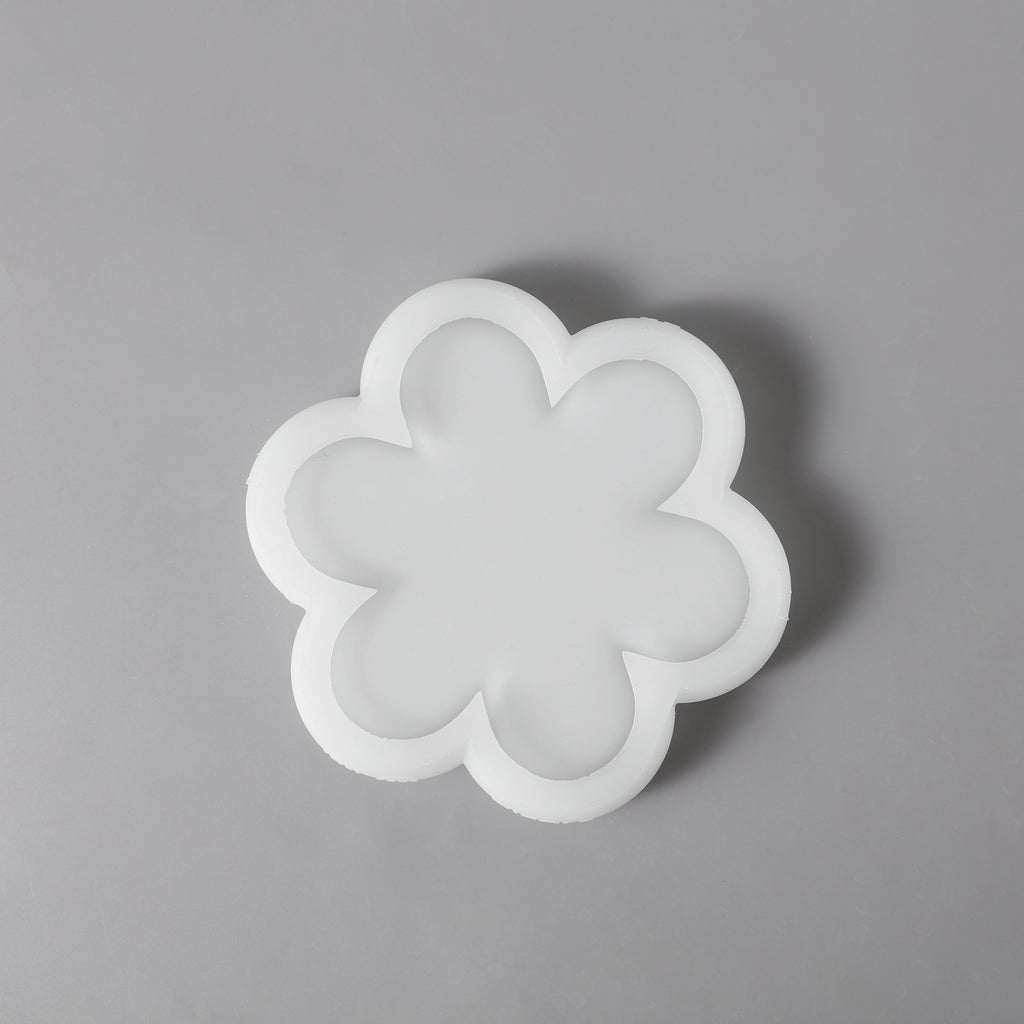
To kick off our artistic adventure, let's introduce the star of the show–the Flower-shaped Tray Silicone Mold. With its intricate petal details and captivating design, this mold effortlessly transforms ordinary concrete into an enchanting floral delight. You can find this incredible mold on our official website Flower Tray Concrete Silicone Mold – Boowan Nicole and discover firsthand the creative possibilities it holds.
Step 2: Gathering Materials and Setting the Stage
Before we delve into the crafting process, let's gather our tools and materials. In addition to the silicone mold, you'll need:
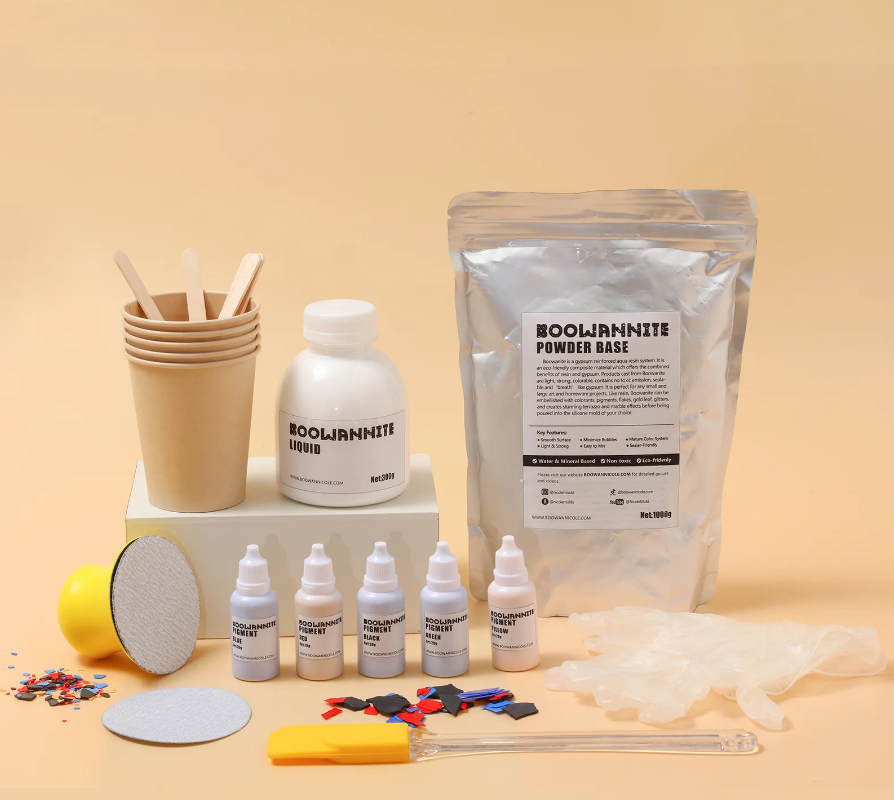
- Boowannite kit
- Sanders

- Mixing container
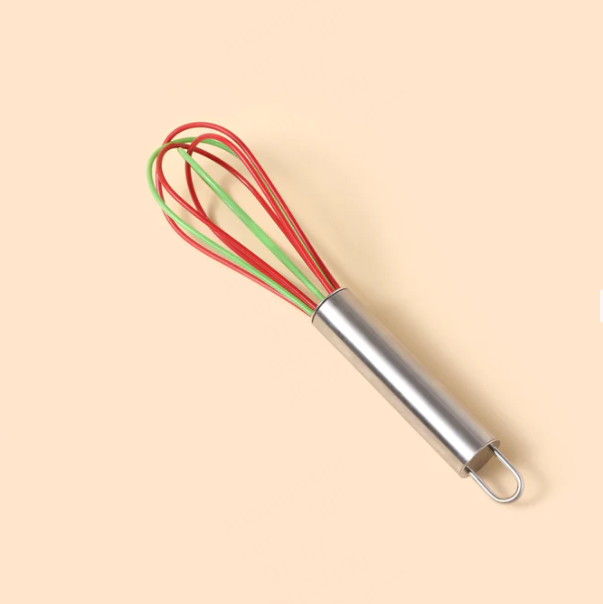
- Stirring tool
- Some decorative elements
Set up a serene and inspiring workspace, adorned with your favorite crafting essentials, and get ready to infuse your tray with personalized charm.
Step 3: Preparing the Mold for Brilliance Now

Let's introduce a small but crucial step to our process—adding decorations to the mold before pouring the materials. This additional touch will elevate your finished tray, creating a captivating visual experience. Consider placing delicate pressed flowers, shimmering sequins, or even small gemstones in the mold, arranging them in a way that reflects your unique style and vision.
Step 4: Mixing Boowannite

Proceeding with the mixing process, follow the instructions on your Boowannite kit, adjusting the ratios as needed. Gradually add liquid to the Boowannite mix while stirring, achieving a velvety consistency reminiscent of molten silk. Take your time during this step, ensuring that the mixture is evenly blended and free of lumps.
(Tips: the material ratios required for this mold, which we have presented in this blog, are 182g powder with 64g liquid)
Step 5: Pouring the Boowannite with Precision
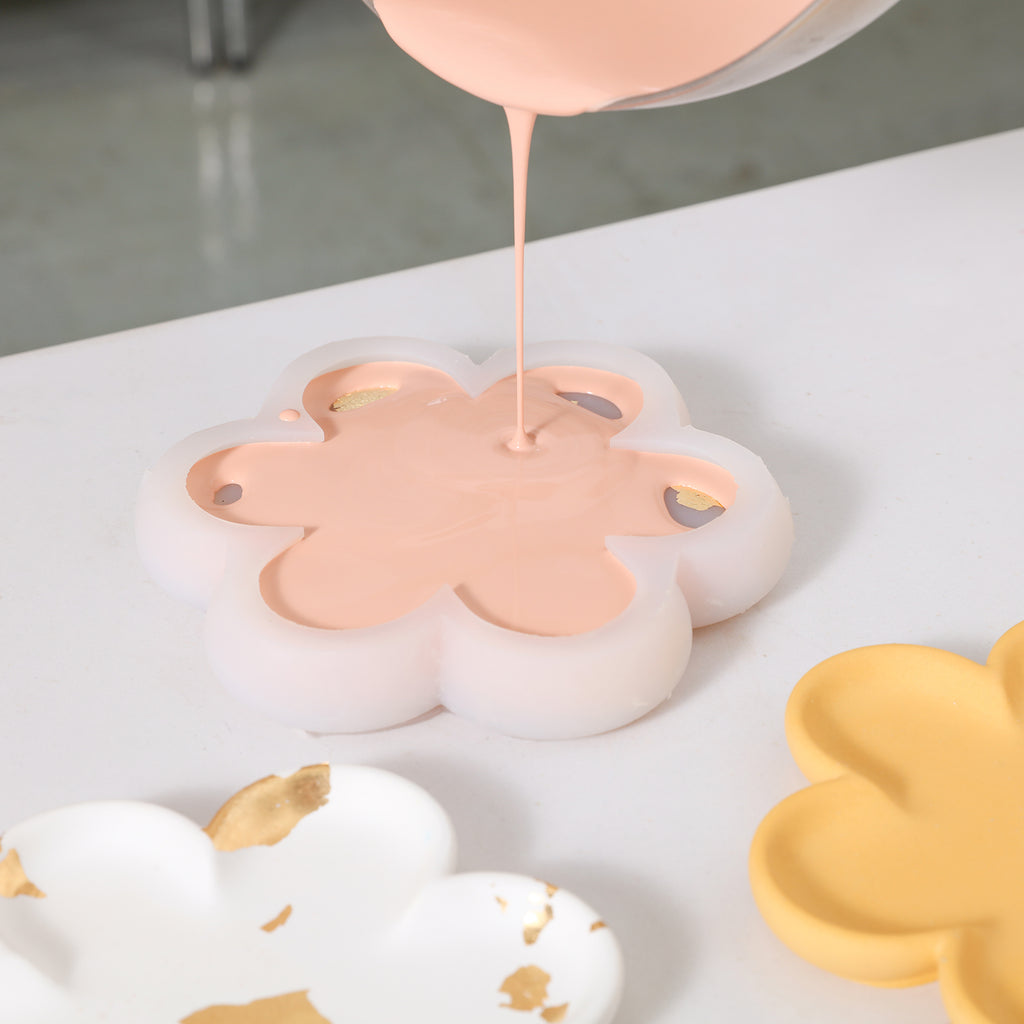
With the mold properly prepared, it's time to pour the Boowannite mixture. Carefully transfer the mixed Boowannite into the mold, filling it to the desired thickness. To remove any air bubbles, gently tap the mold on your work surface or use a vibrating tool. Smooth out the surface with a spatula or a straight edge.
Step 6: Solidfing and Patience

Allow the Boowannite to solidify according to the manufacturer's instructions. This process typically involves letting the mold sit undisturbed for a designated period. During this time, the Boowannite solidifies and gains strength. Be patient and resist the temptation to rush the curing process – good things come to those who wait! 😉
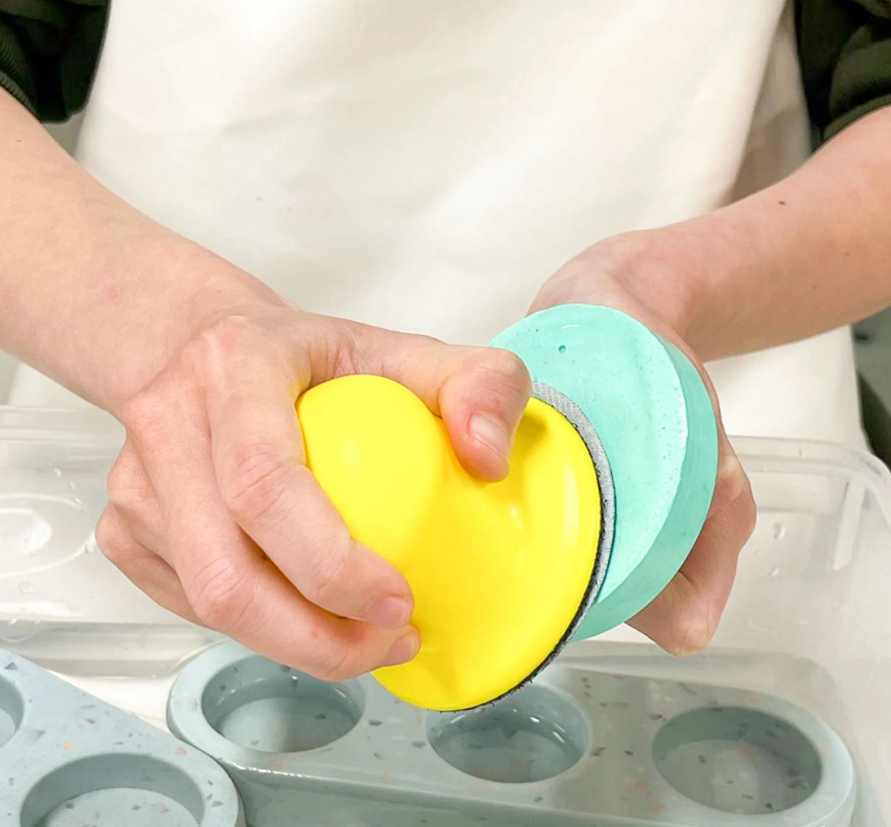
Step 7: Unveiling the Floral Beauty

Once the Boowannite has fully solidified, it's time for the grand unveiling. Carefully peel away the silicone mold, revealing the captivating flower-shaped tray you've created. Marvel at the intricate details and admire your craftsmanship. If needed, use sandpaper or a file to smooth any rough edges or imperfections.
Step 8: Express Your Creativity

Now that you have your beautiful flower-shaped concrete tray, it's time to let your creativity bloom. Decorate it with acrylic paints, add touches of gold leaf, or experiment with resin coatings to enhance its natural beauty. The possibilities are endless, and you're the artist in charge! 🥳

Voilà! 🎉🎉🎉We've reached the end of our creative journey into the realm of flower-shaped tray production. Armed with your newfound knowledge and the amazing Flower-shaped Tray Silicone Mold, you're ready to craft unique pieces that radiate elegance and charm. Remember, practice makes perfect, so don't be afraid to experiment and let your creativity flourish. 🌸
