


Unleash Your Creativity by Making Vibrant Handcrafted Terrazzo Chips!
Hey there, fellow creators! 😎
Are you ready to embark on an exciting journey of color, texture, and creativity? 😉Today, we're diving headfirst into the world of vibrant, handmade terrazzo chips. These little gems are an absolute game-changer when it comes to creating stunning terrazzo-style pieces. So, buckle up, and let's get our creative juices flowing! 🥳
Step 1: Gather Your Materials
First things first, you'll need some good-quality materials. Now, you could use any materials, but why not go for the best? 😆 I highly recommend our vibrant, fade-resistant pigments and Boowannite powder that pop like no other. Of course, don't forget the tools for shaping your chips! 😘 Here is the list of materials:
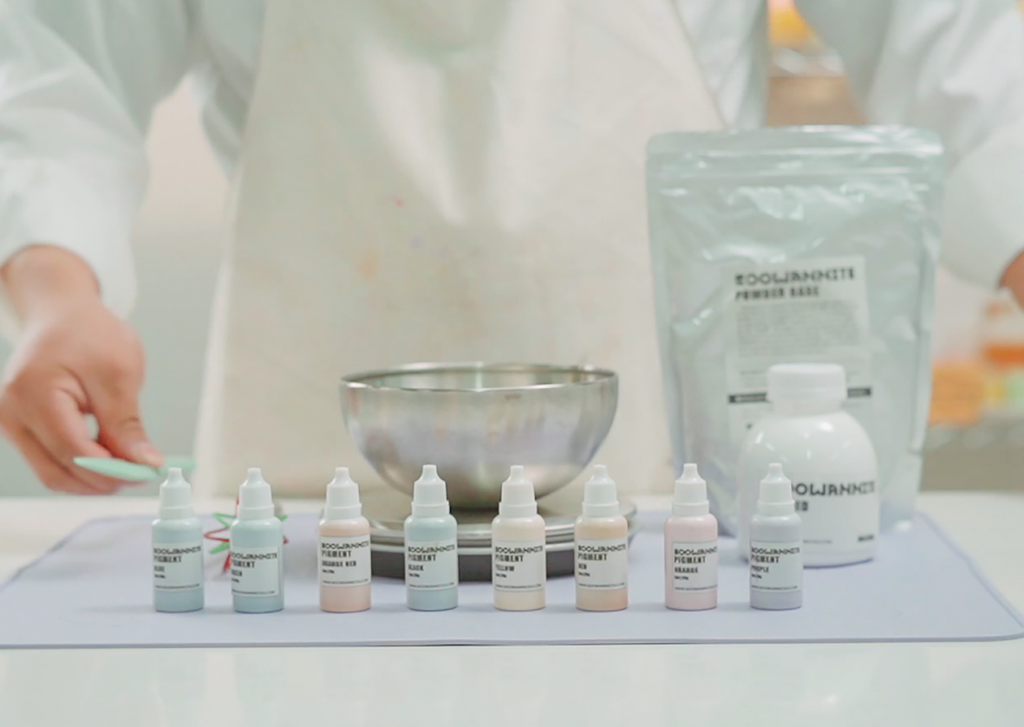

Pigments (available on our official website)
Boowannite Powder and Liquid (available on our official website)
Silicone mat (available on our official website)
Electronic scale
Container
Silicone spatula
Stirrer
Step 2: Mix Your Magic
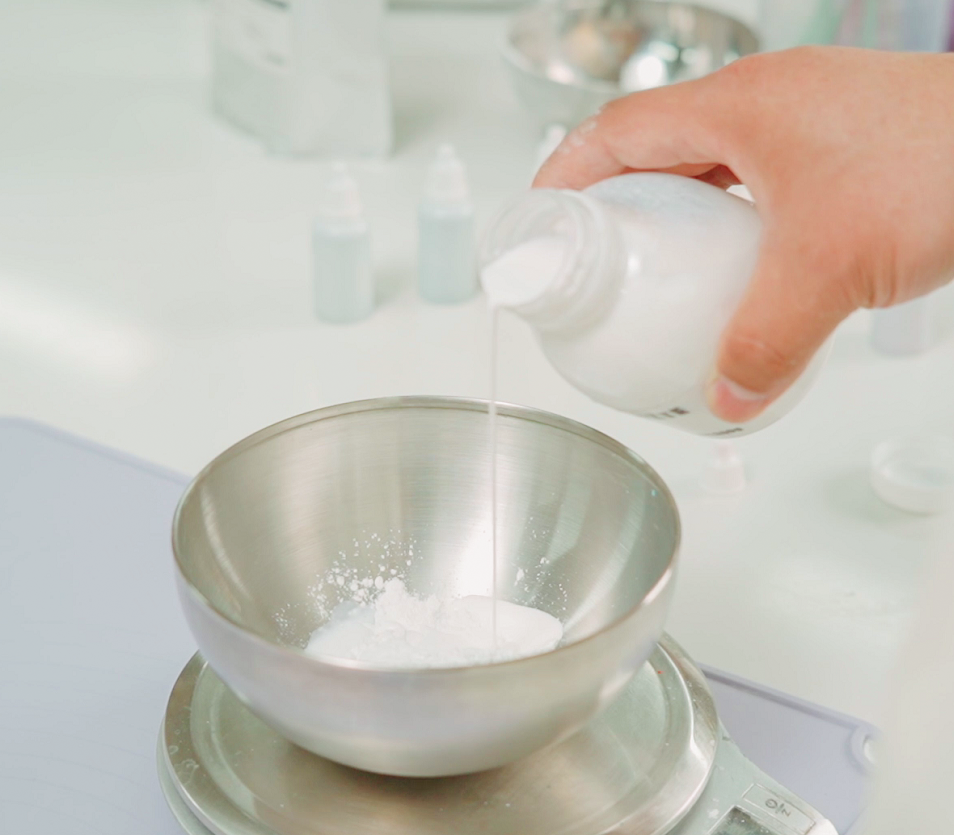
Now here's where the real fun begins! 😉 Blend your chosen pigments with the Boowannite powder. Feel free to play around with the color combinations - the sky's the limit! Remember, it's your journey, your style. So, let your imagination run wild! 🎊
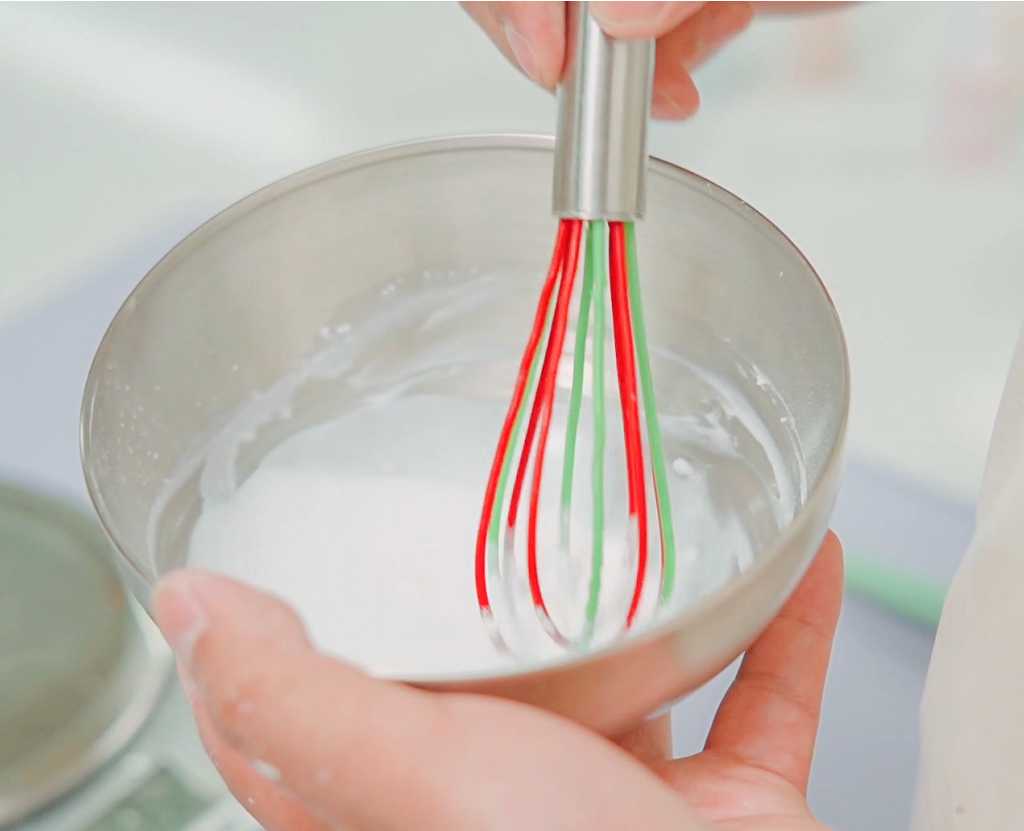
To get the ball rolling, we're going to be working with some simple ingredients. Begin with 17g of liquid and 50g of powder. This is your starting point for creating one batch of color chips. Now, let's get to the fun part - mixing. Stir the liquid and powder together until it's as smooth as a fresh cup of milk, with zero lumps in sight. The smoother, the better, guys! 🥛
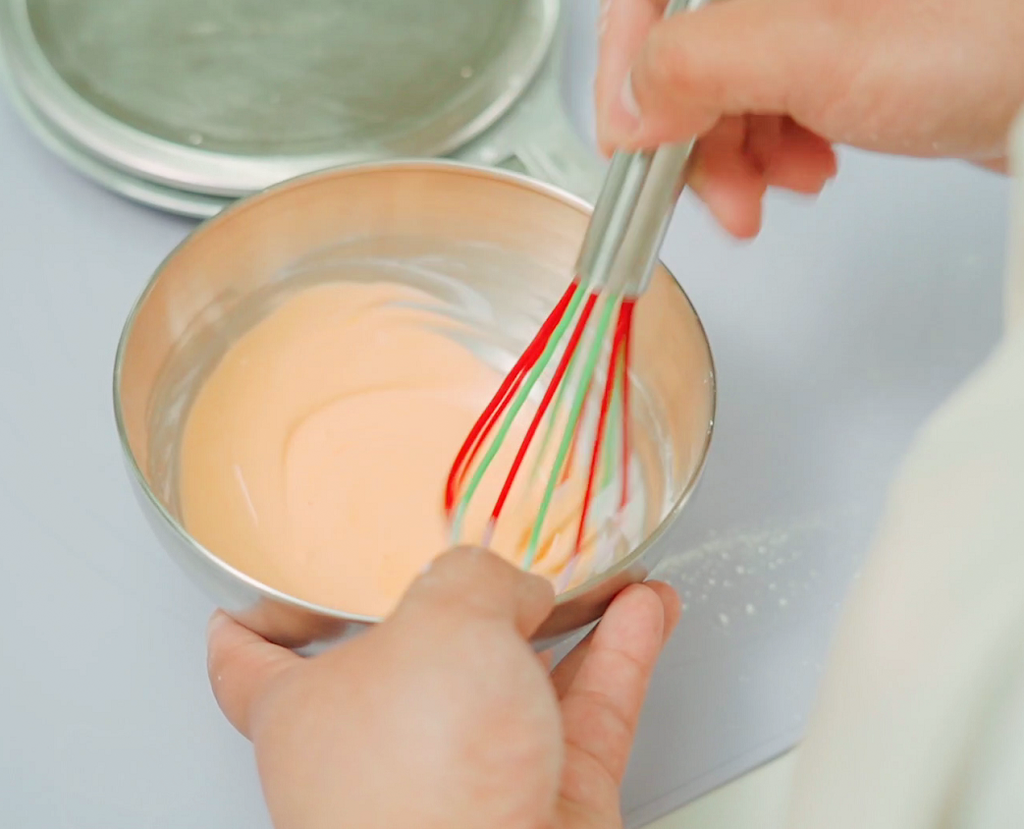
Now that you've got your base, it's time to jazz it up! 🎨 Choose your color du jour and add a few drops of paint. Remember, this is YOUR creation, so you have full control over the hue. More drops mean a deeper, more vibrant shade. So, dare to be bold! ✨
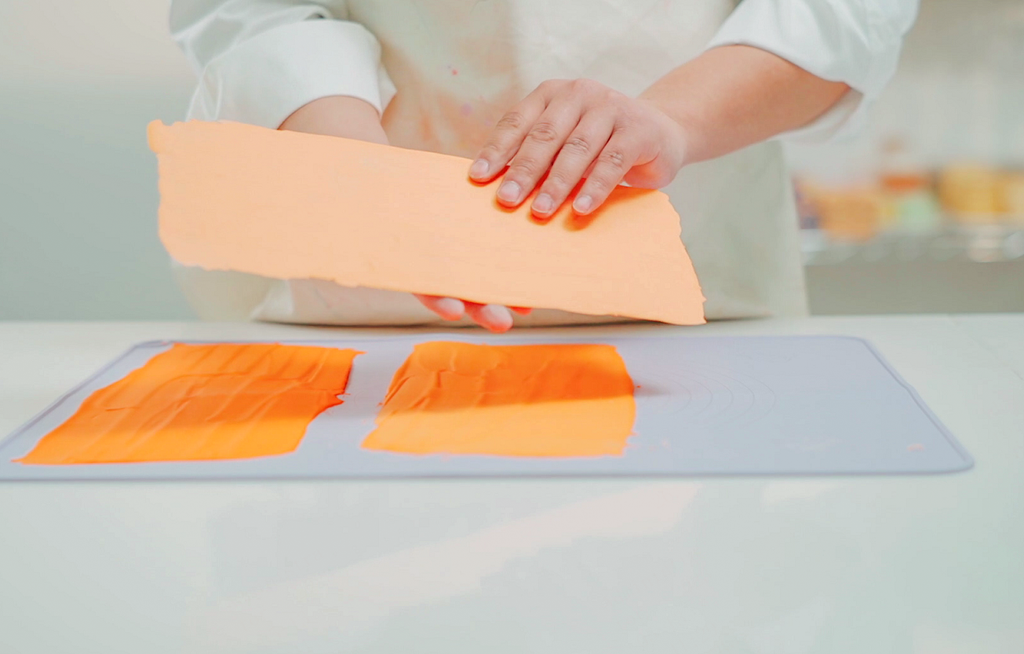
Step 3: Pour your colorful mixture on a silicone mat
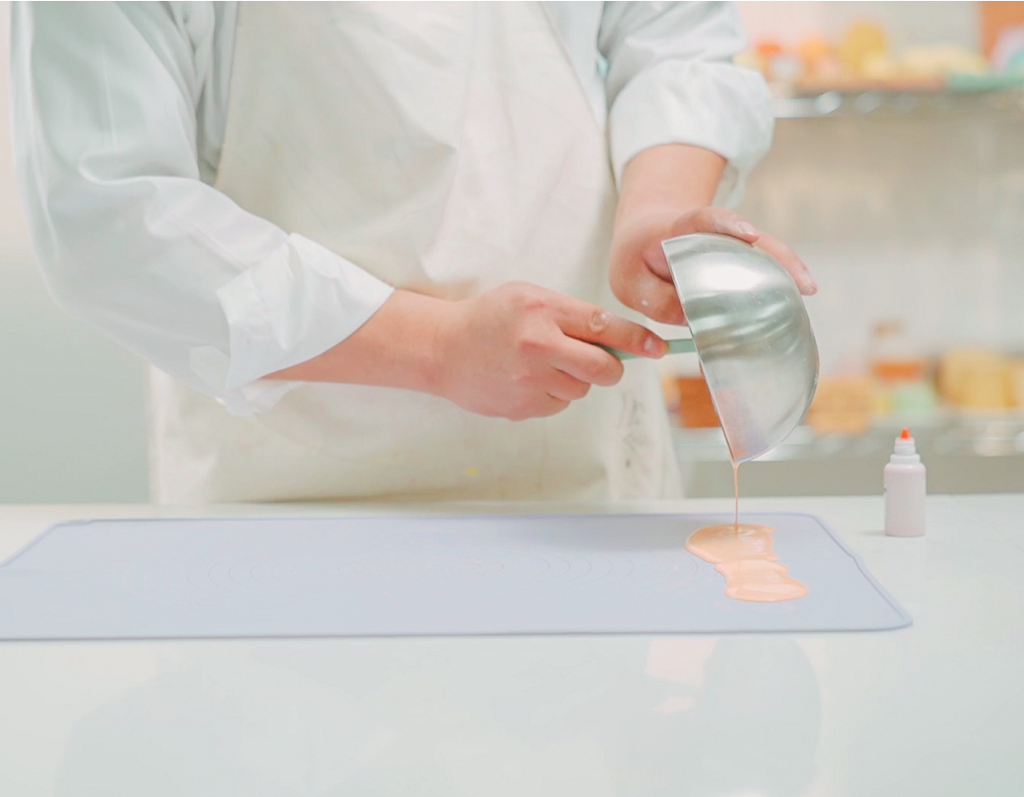
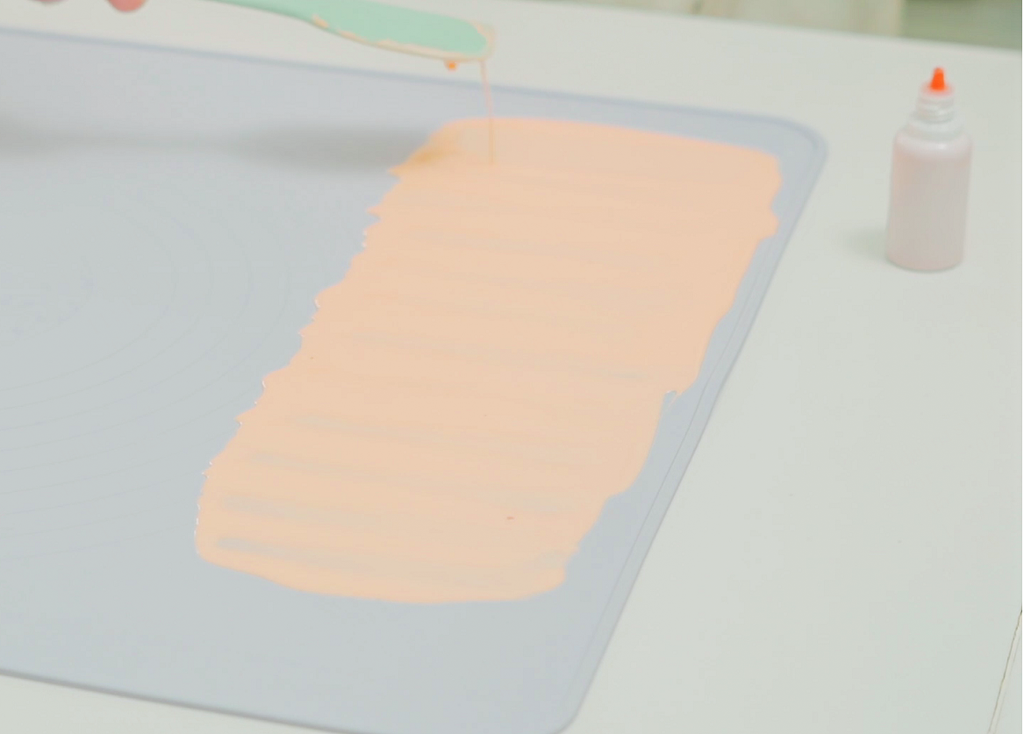
Once you're satisfied with your color, it's time to get creative on your silicone mat. Pour the mixture lengthways onto the mat, then take your silicone spatula and spread it out evenly. The aim is to cover the mat with a beautiful, uniform layer of your mixture.
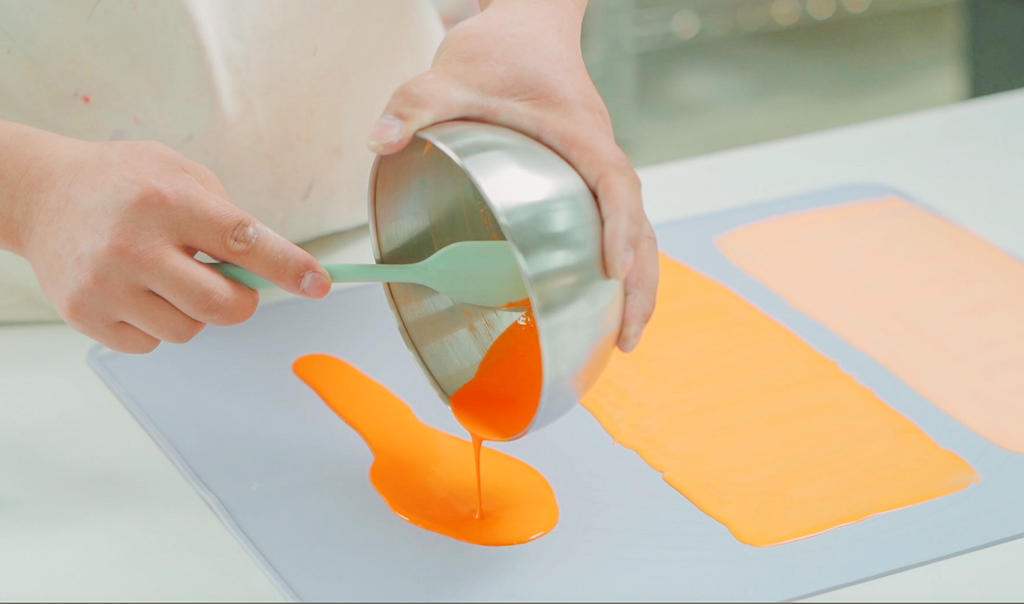
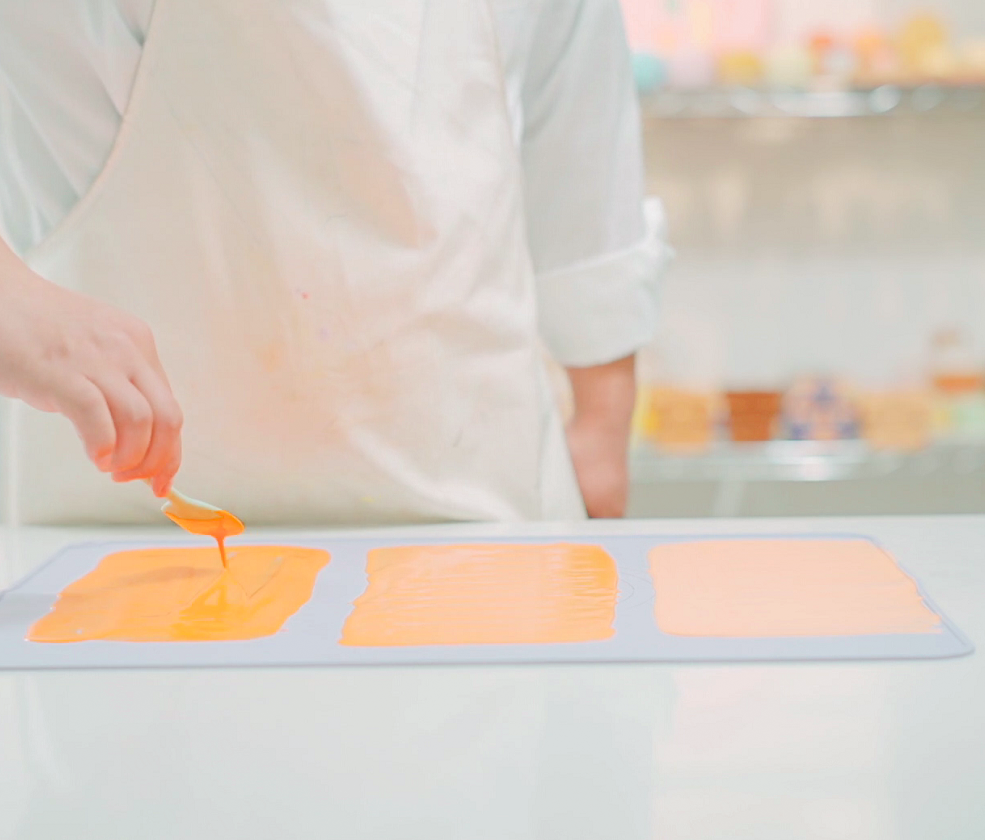
Here's a pro tip, my friends: Variety is the spice of life! Don't limit yourself to one color per mat. Mix it up by spreading three different color mixtures on the same mat. It's like a rainbow on your worktop! 🌈
Step 4: Let them dry
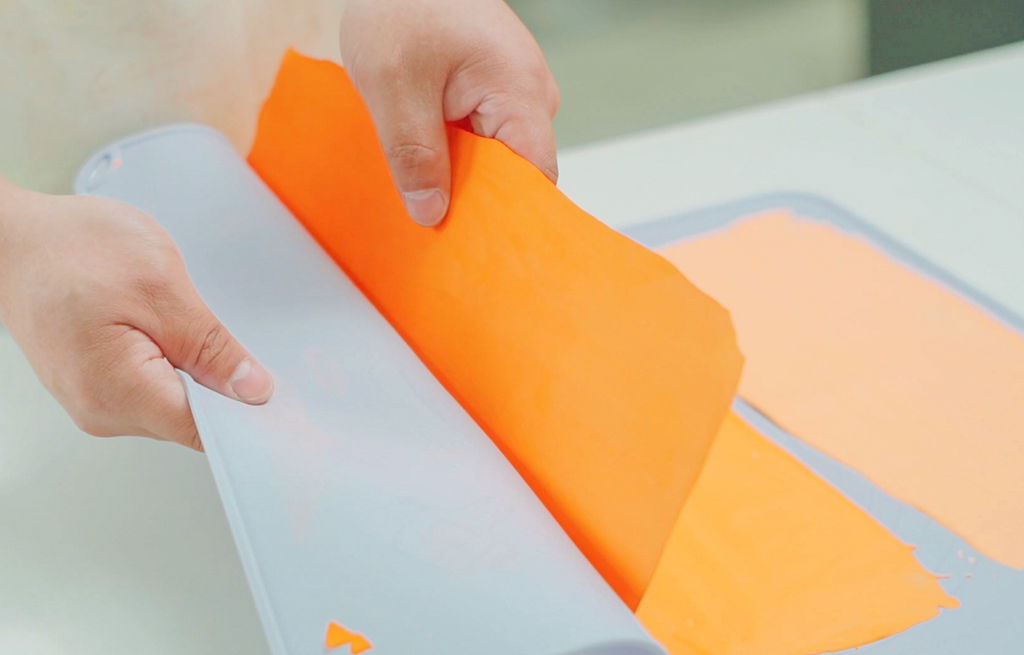
Alright, my creative enthusiasts, buckle up for the next thrilling stage in our Terrazzo chips journey. We've let our color pieces set and solidify, and now it's time for the big reveal.
Here's the deal: Approach your silicone mat with care and gently begin peeling off the now-hardened color chips. Ah, the satisfaction of seeing your creation come to life! 😆
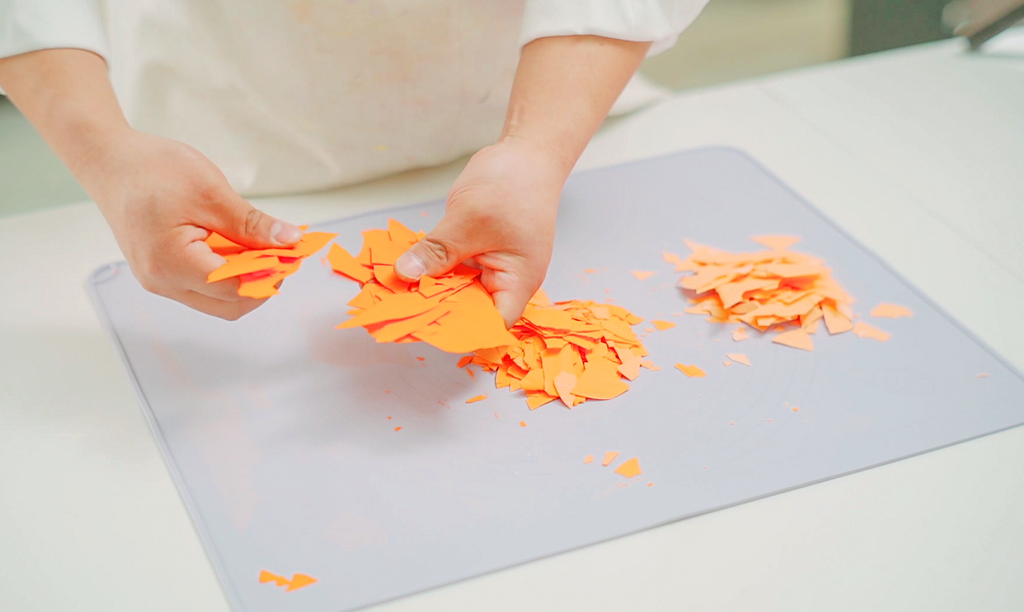
But we're not quite done yet. Now, it's time to break these color pieces down into the size that fits your vision. Remember, it's your world, your rules. Whether you're after confetti-like sprinkles or chunkier pieces, go ahead and shape your chips to your heart's content.
Welcome to the world, little chips! 🎊
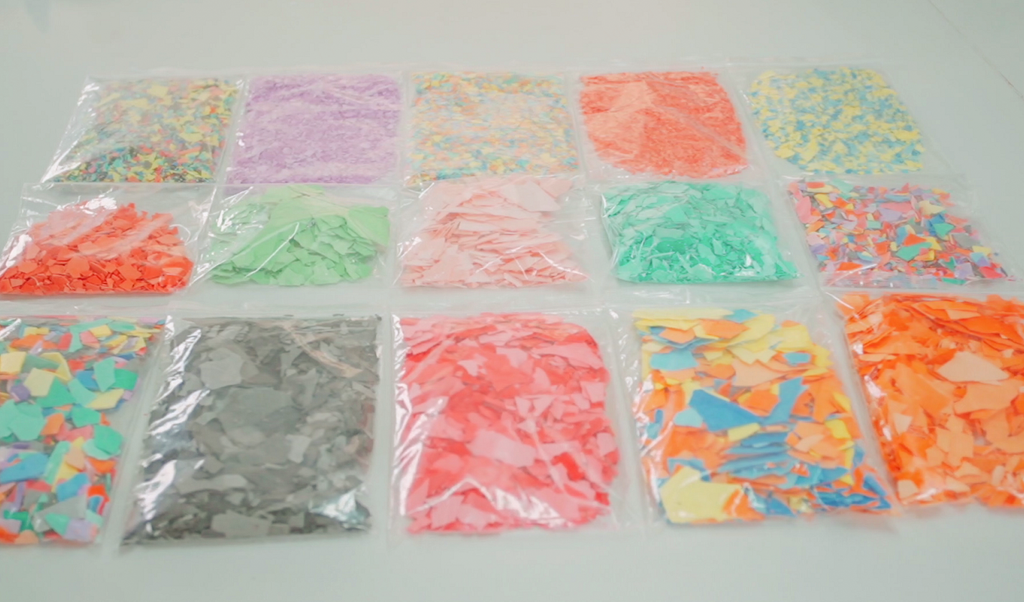
Creating your own terrazzo chips is more than just a DIY project - it's a fantastic, fulfilling journey of creativity. It's about expressing yourself and bringing your unique style to life. With our vibrant pigments and your boundless imagination, there's no limit to the masterpieces you can create.
So go ahead, get your hands dirty, and start creating! Can't wait to see the magic you'll make with your handcrafted terrazzo chips. Remember, creativity is contagious, so pass it on! 🥰
Until next time, keep creating, keep exploring, and most importantly, keep having fun! 💗💗💗
